A Beginner’s Guide to Saving Seeds
Simple steps to collecting seeds from your favorite summer blooms.
As the warm days of summer fade and the crisp air of autumn arrives, for us flower fanatics it's the perfect time to start thinking about next year's garden. One beautiful, sustainable and simple way to prepare for the following season is by saving seeds from your flowers this year. Whether you're a seasoned gardener or just starting out, saving seeds can be an incredibly rewarding process that allows you to nurture the next generation of plants.
In all honestly, I was a bit intimidated to save seeds at first because in my head I thought it would be a task that would require the right about of time, energy and planning in order to successfully make it happen. However, when I realized that a number of plants self-seeded without any human assistance (read: interference), I figured that it was worth a shot to save some seeds. I quickly realized that it would become a favorite task of mine, and a simple way to not only finish the season with immense gratitude for the hard-working blooms of this year, but to feel hopeful for what the next season would bring.
So with that, here's a step-by-step guide on seed-saving for beginners, using some of those most tried and true summer favorites, like zinnias, celosia, and cosmos, to get you started.
Why Save Seeds?
For those like myself enjoy finding ways to romanticize like a bit, saving seeds is like collecting tiny pieces of magic from your garden whereas each seed holds the potential to grow into something vibrant and full of life. When you save seeds, you create a sense of continuity, connecting this year's garden to the next, while also cultivating a deeper relationship with the natural cycles around us. Plus, it's an eco-friendly way to garden, reducing waste and ensuring you can grow your favorite flowers year after year.
When to Collect Seeds
Timing is everything when it comes to seed saving and the key is to let the flower heads fully mature on the plant. Once they have finished blooming and begin to dry out, you’ll know it’s time to collect. Be patient and allow nature to complete its process, ensuring the seeds have developed fully, otherwise your efforts might not produce the way you hope.
As I mentioned above, I’m going to share with you some easy favorites to start with, because not only are these blooms easy to work with when saving seeds, but they’re also easy to grow, making them all win-win situations. For zinnias and cosmos, you'll want to wait until the petals fade, and the flower heads turn brown and brittle. For celosia, you’ll want to harvest when you start to see the seed clusters open up (more on this below). Remember, if you harvest too early, the seeds may not be viable.
How to Harvest Zinnia Seeds
Zinnias are one of the easiest flowers to collect seeds from, making them perfect for beginners.
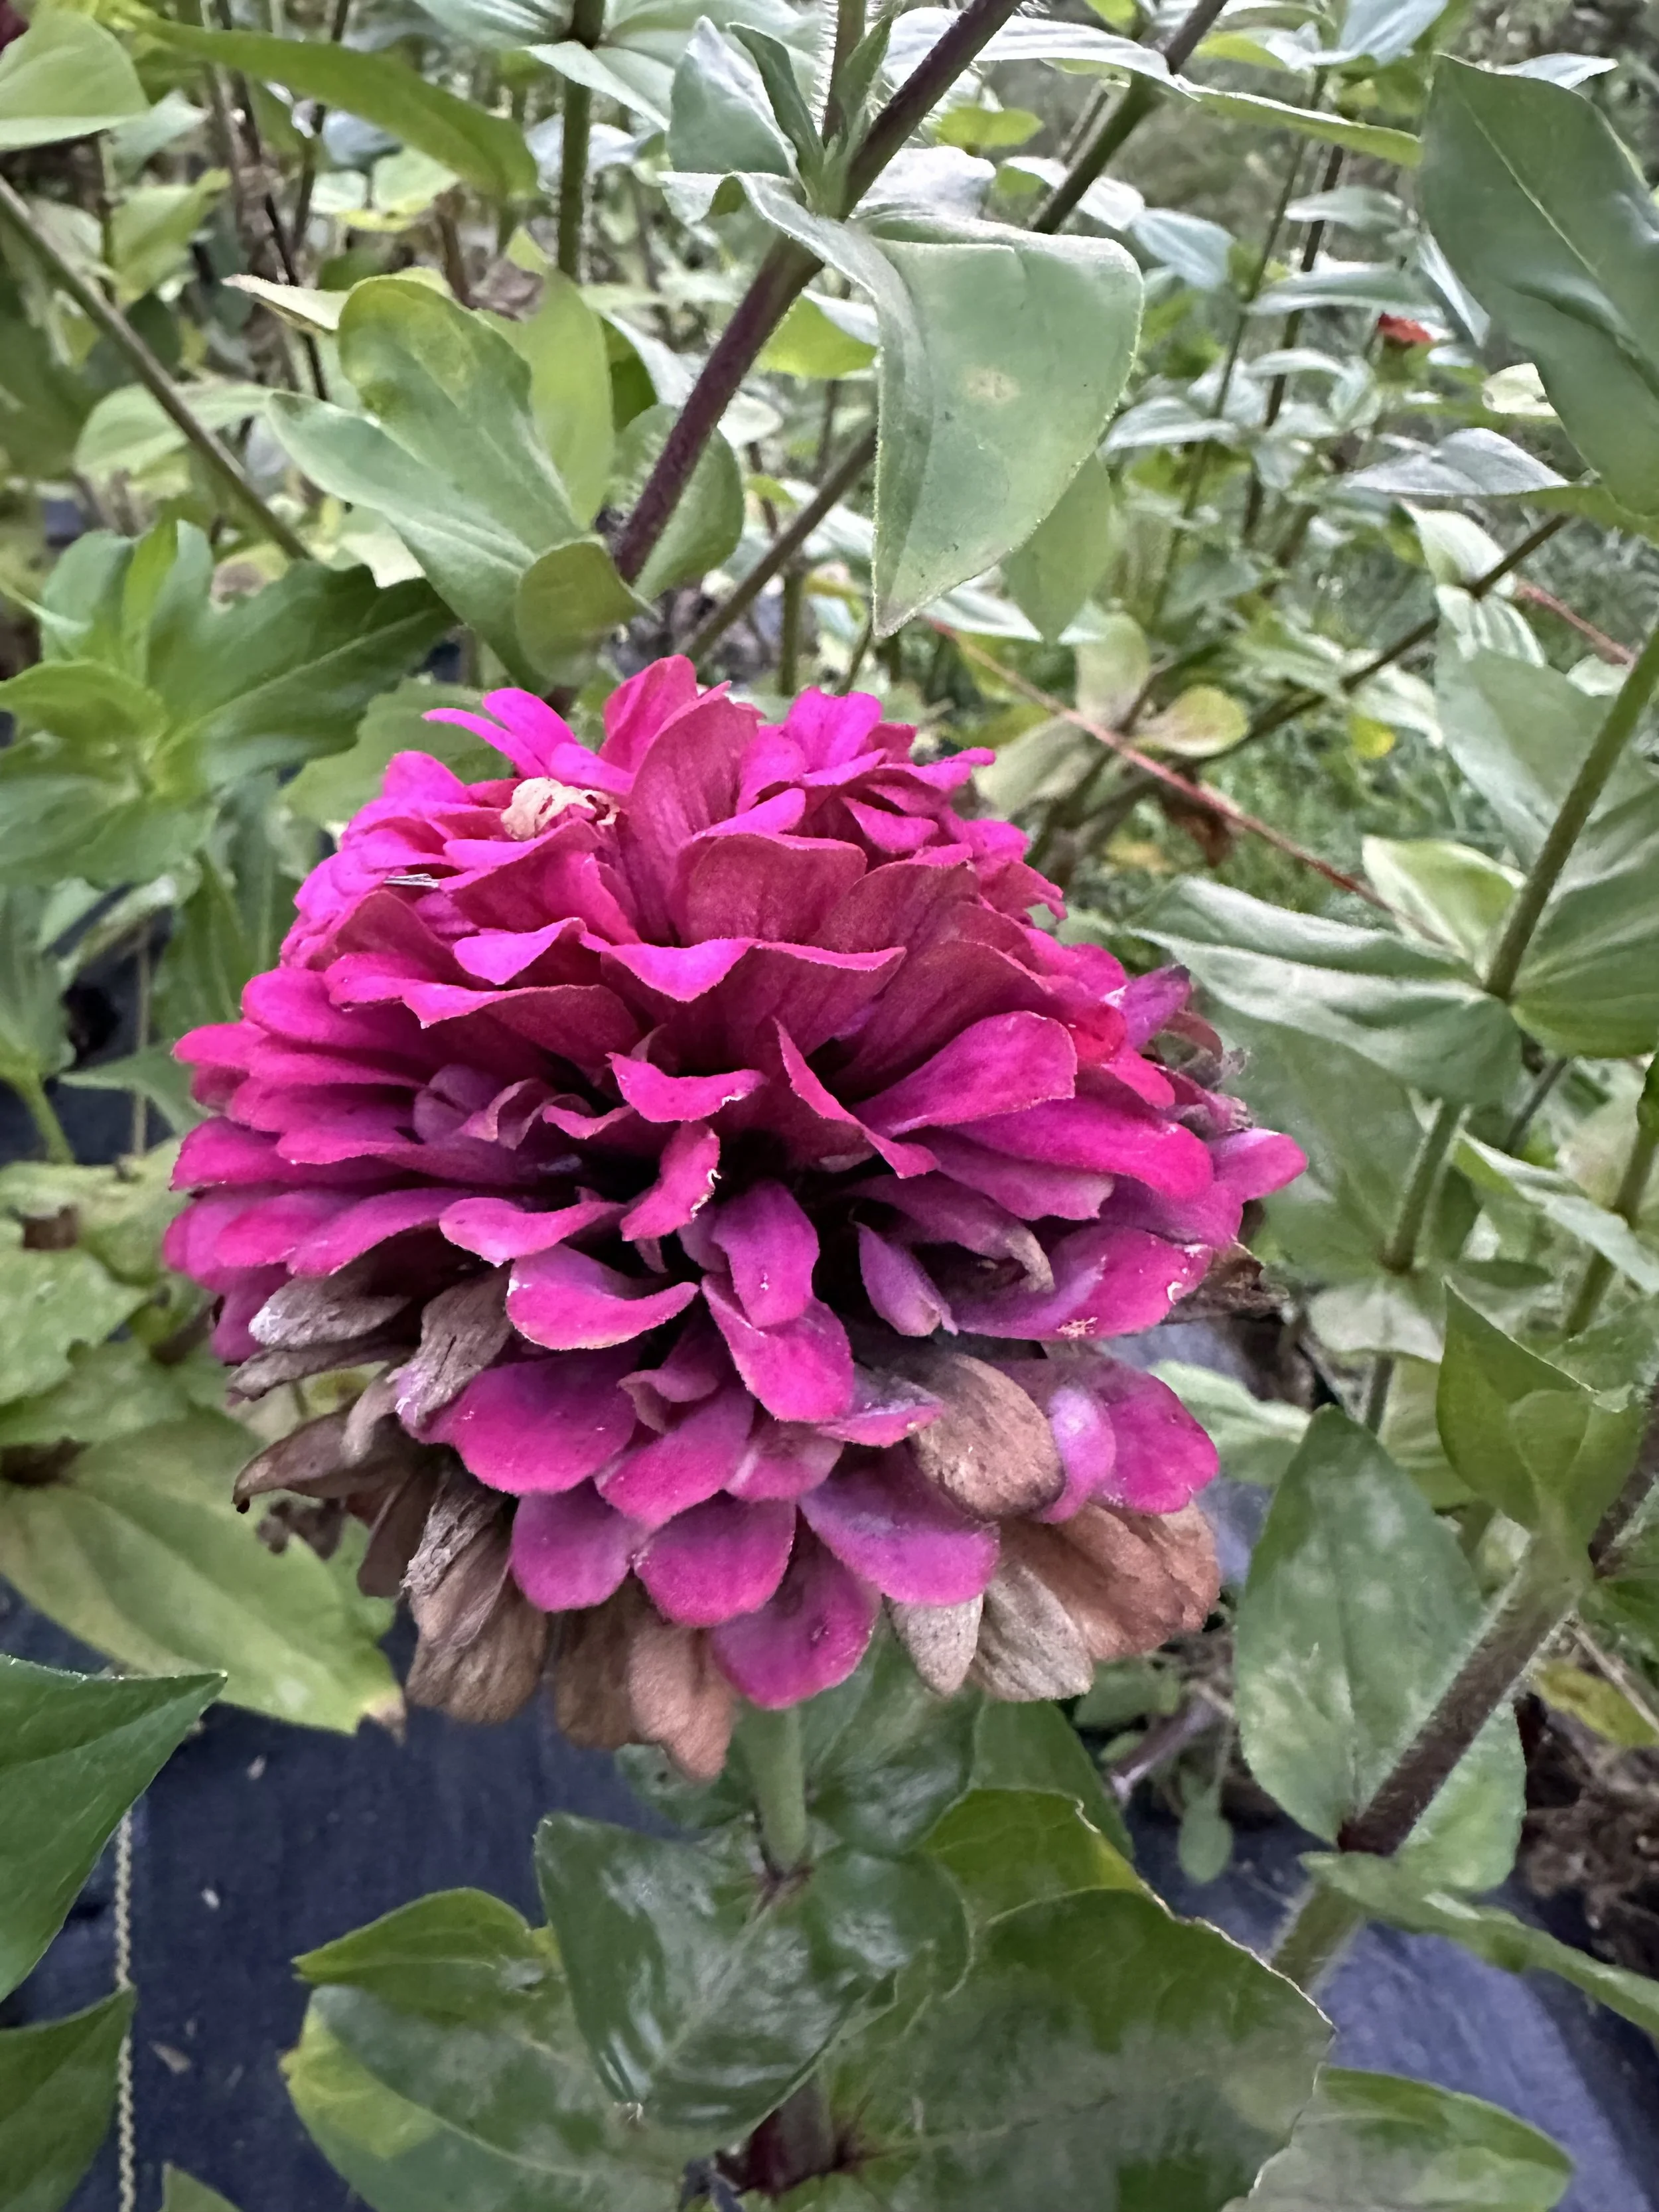
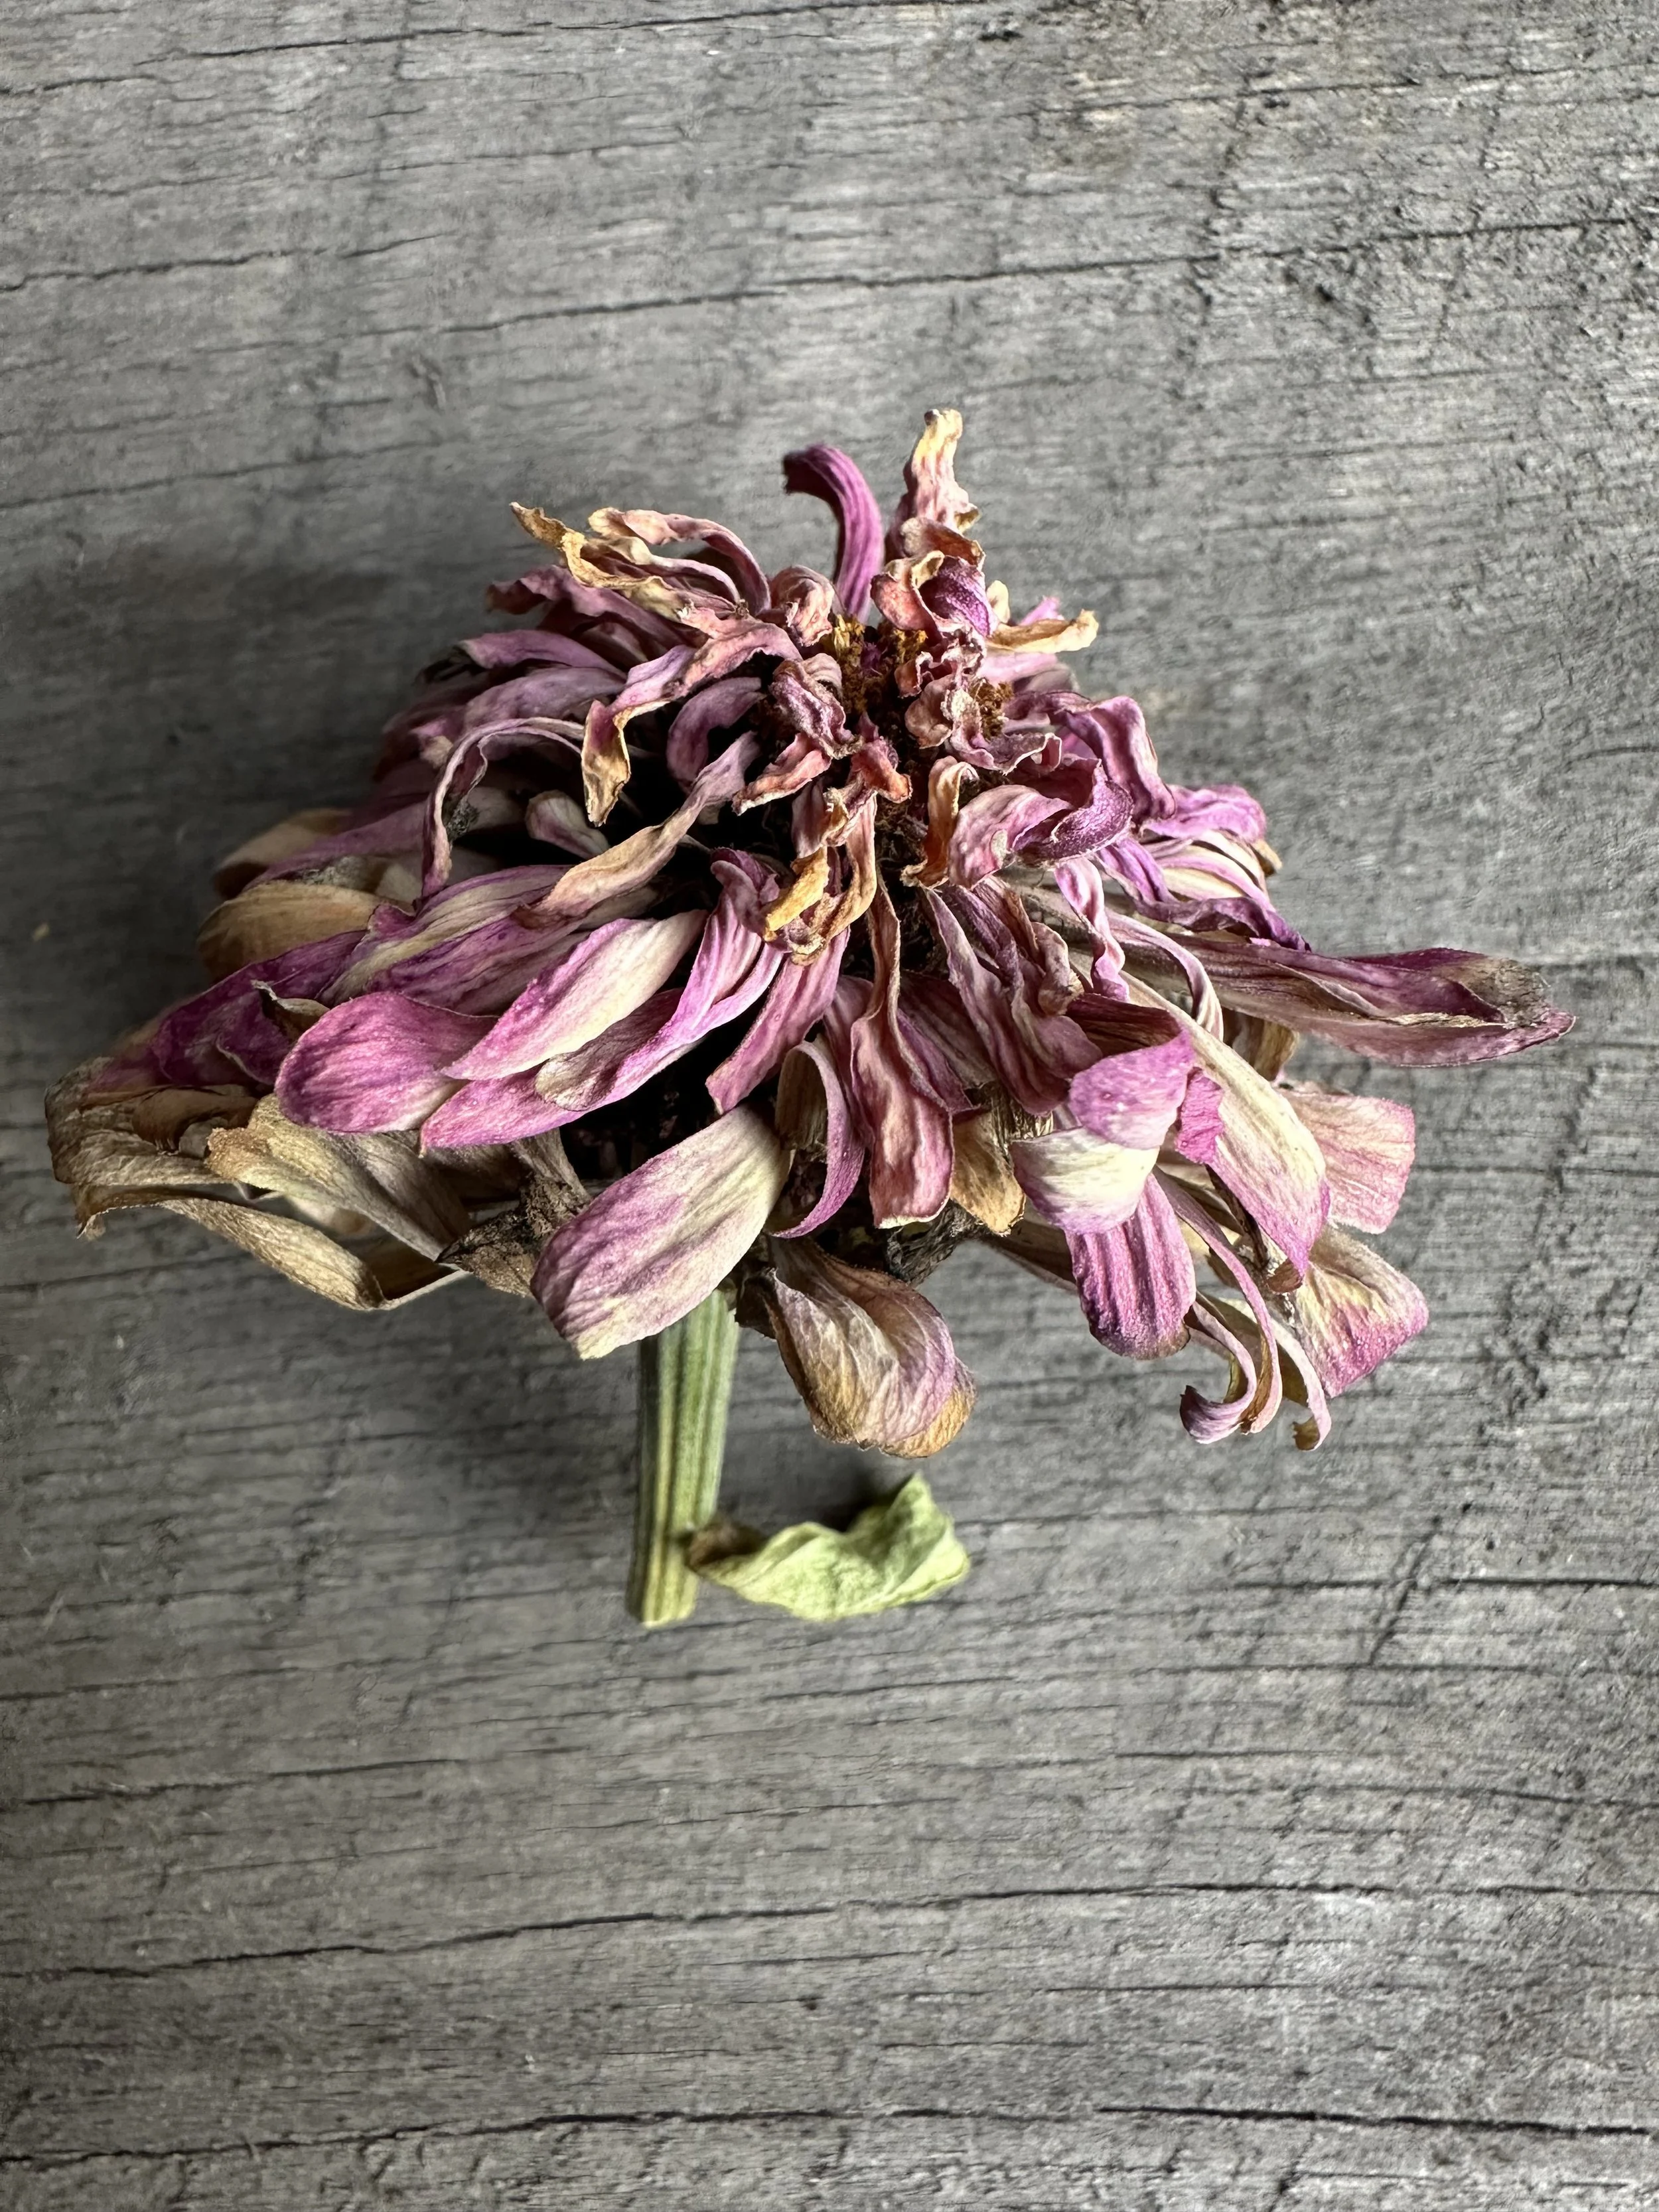
Let the flower dry on the plant. The zinnia heads will turn brown and crispy when ready.
Gently pull apart the dried flower head to reveal small, arrowhead-shaped seeds at the base of each petal.
Separate the seeds from the chaff (the dried plant material). You’ll notice the seeds are firm and dark in color.
Store the seeds in a labeled envelope or jar, ensuring they are kept in a cool, dry place until spring.
Harvesting Celosia Seeds
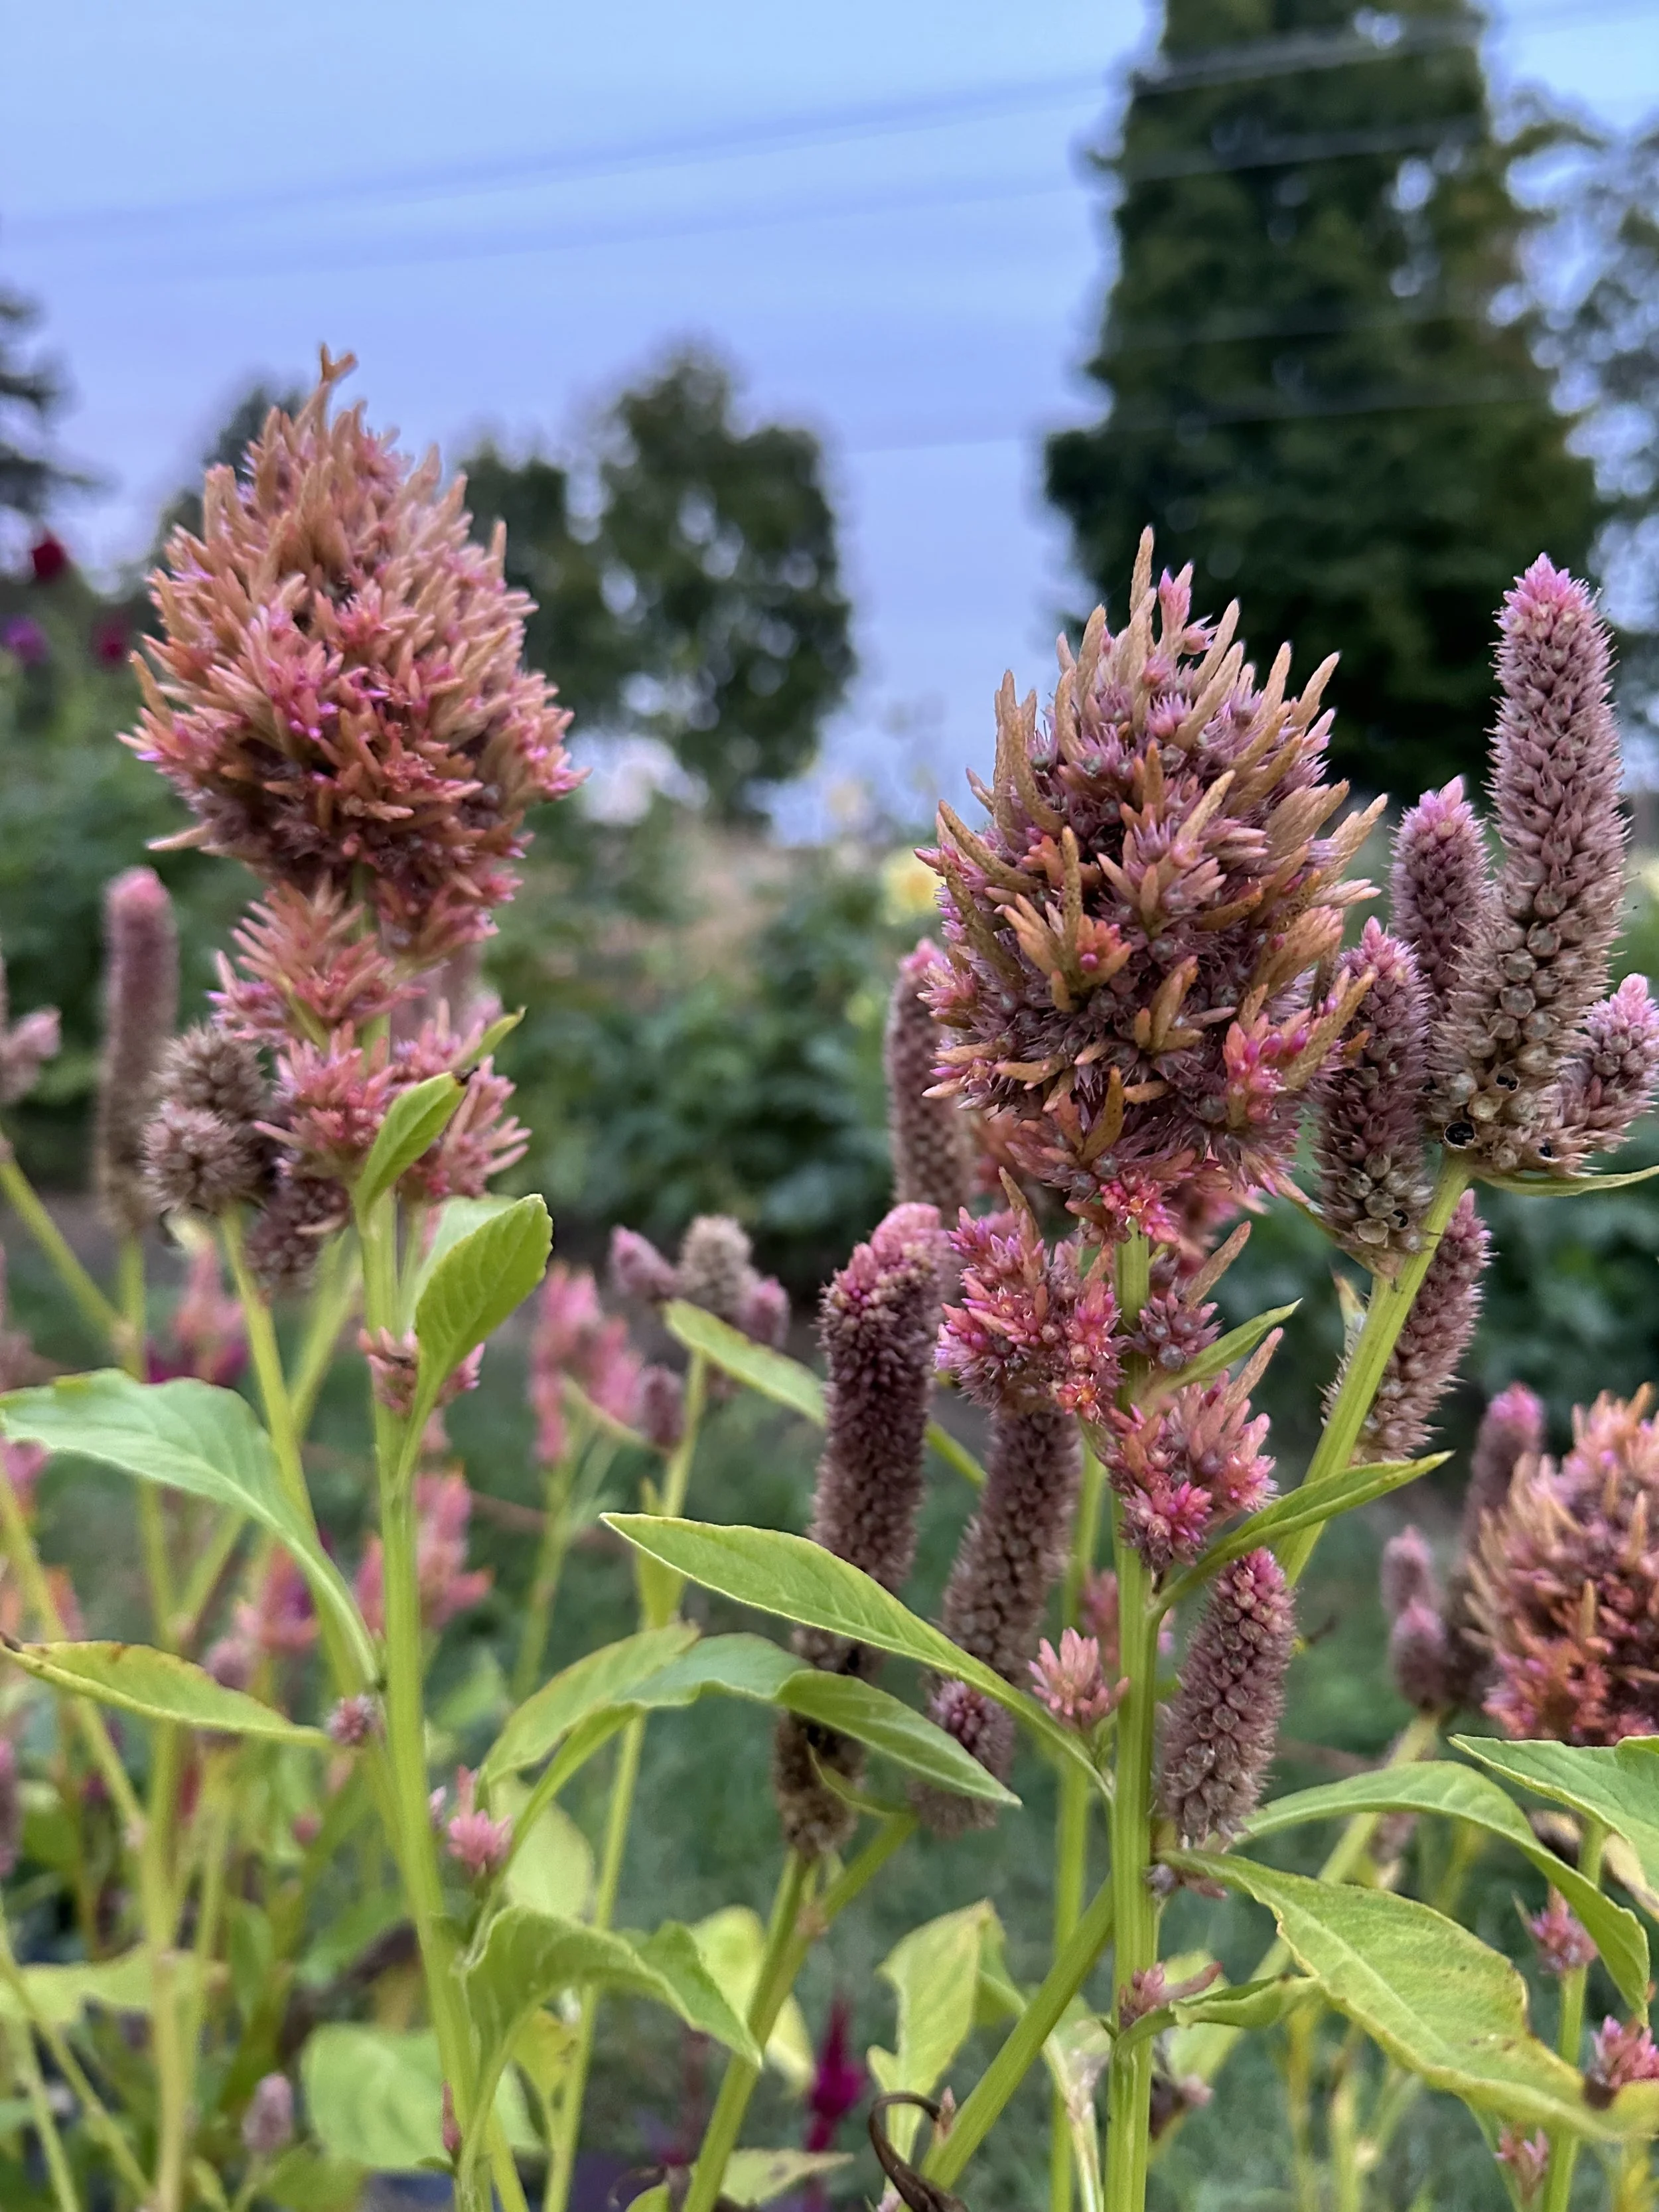
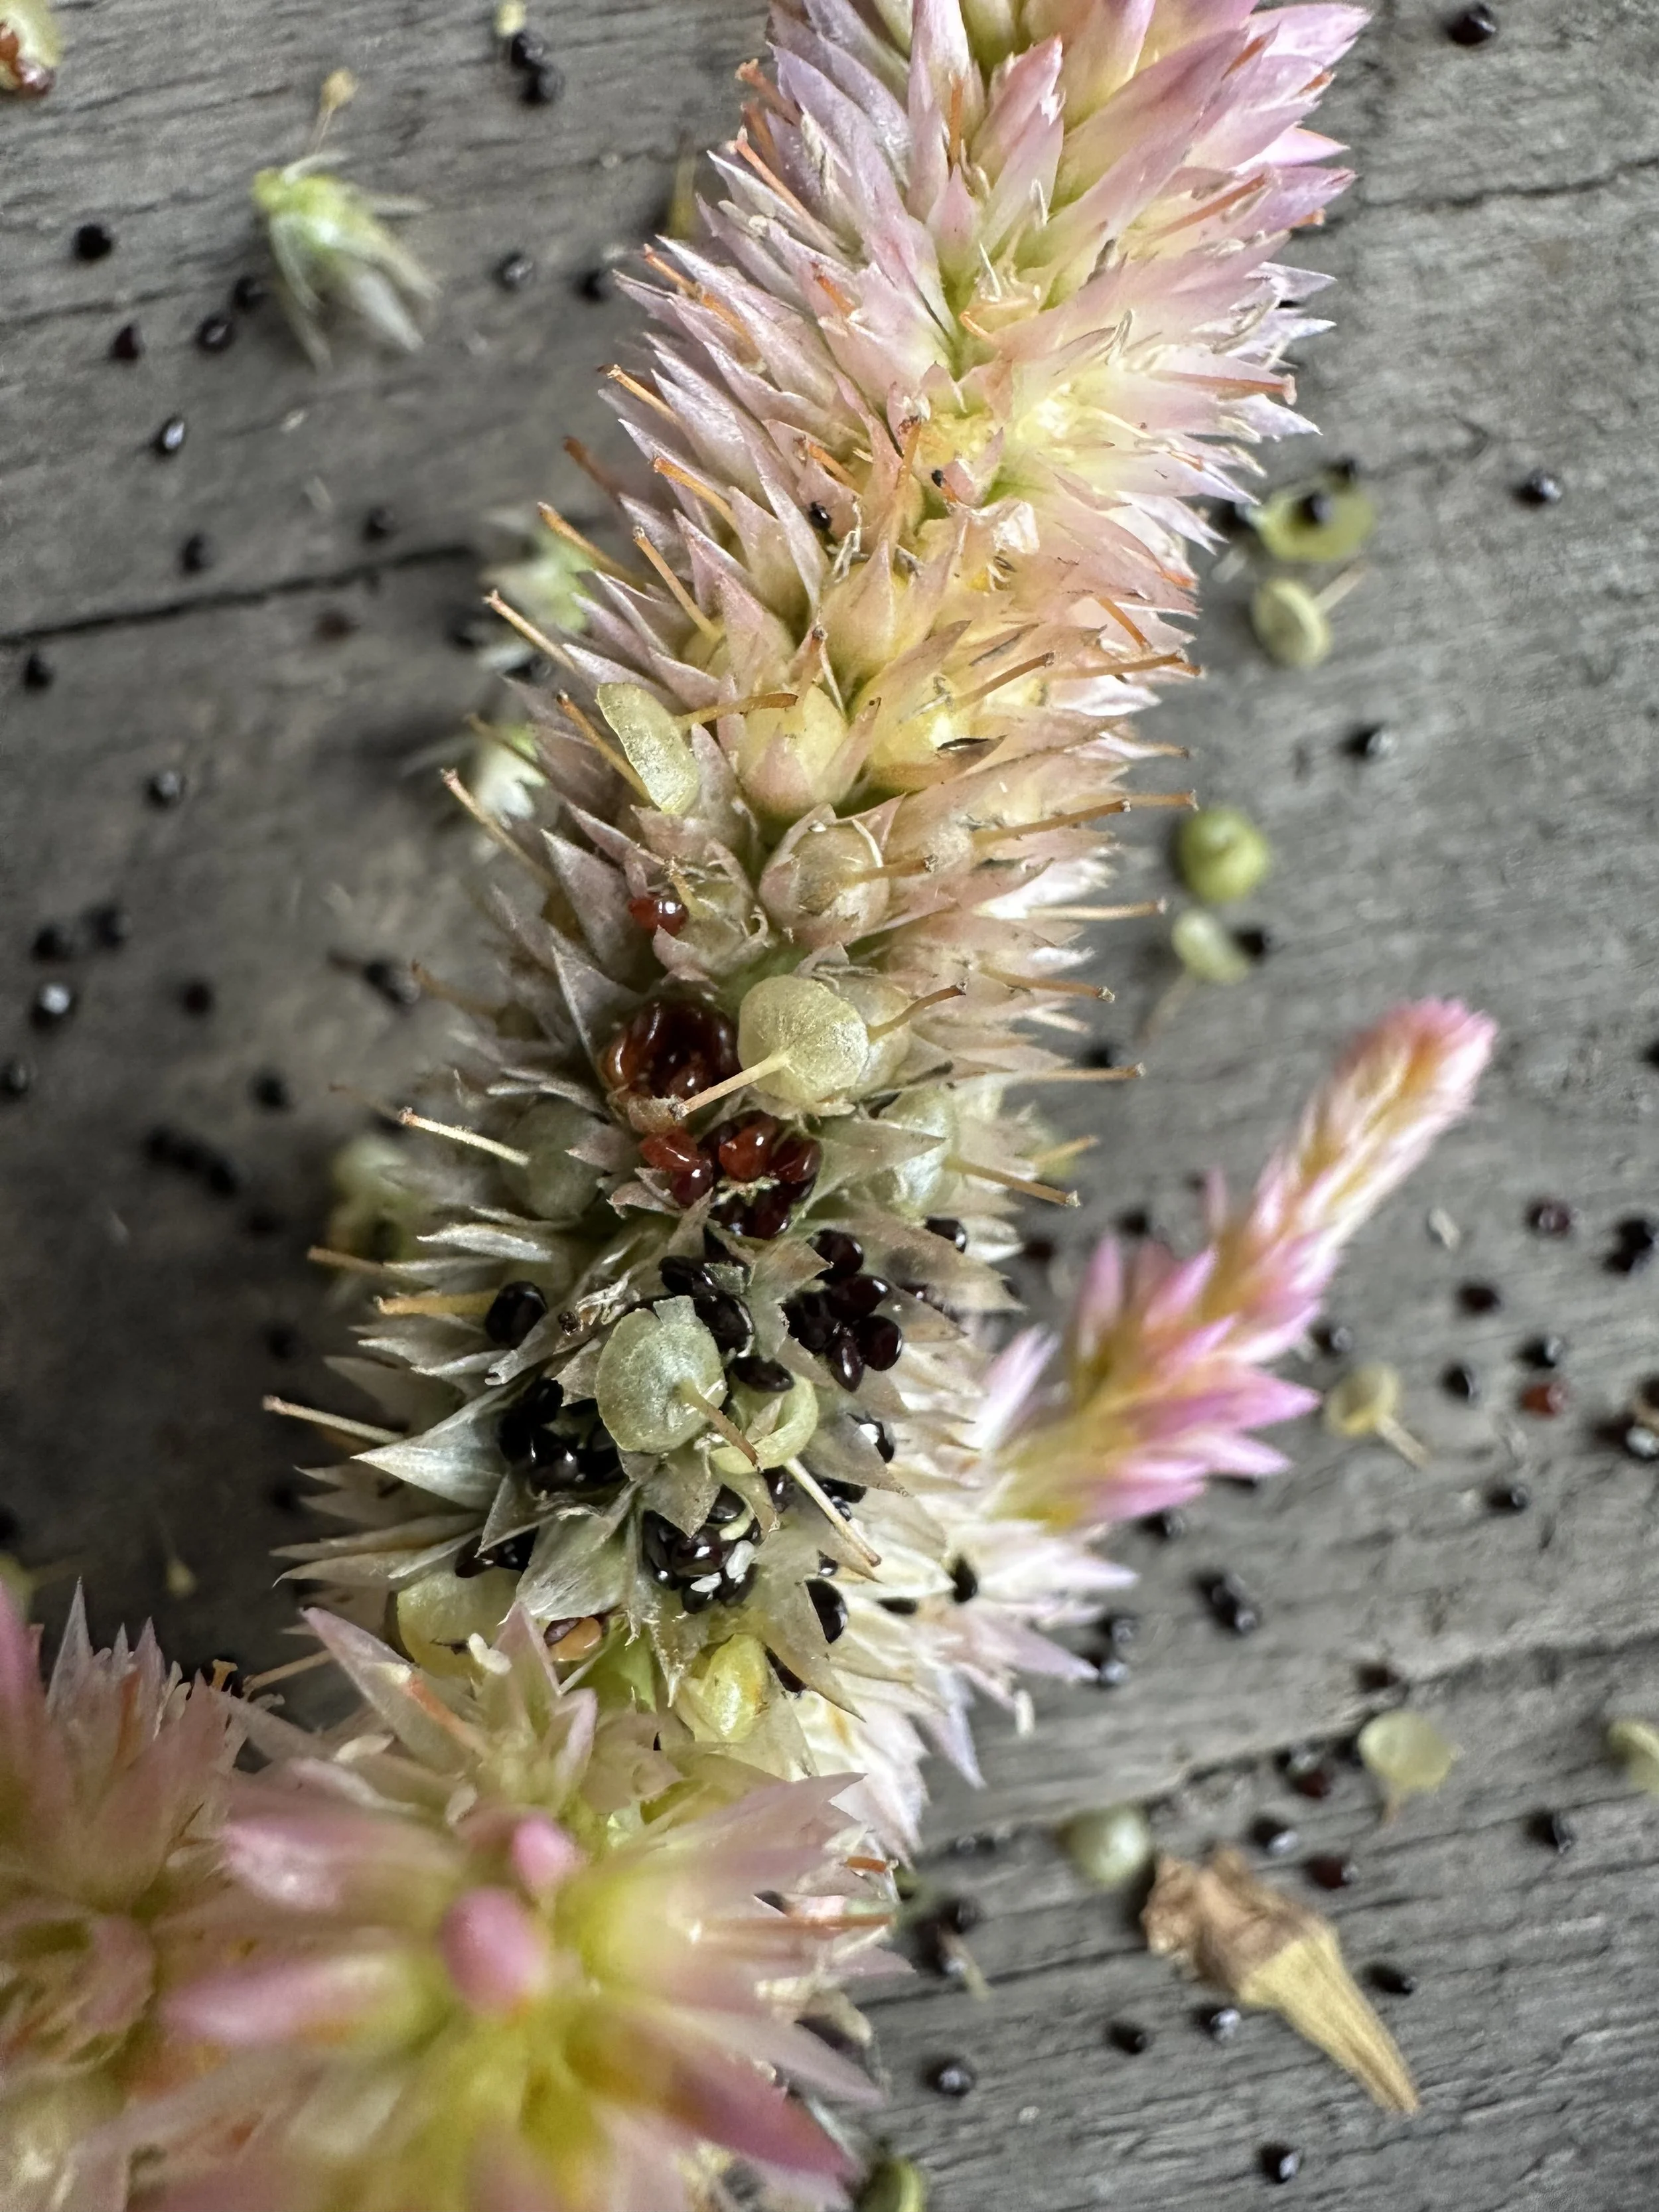
Celosia is a striking plant with feathery or brain-like blooms, and its seeds are tiny but easy to collect.
Allow the blooms to dry on the plant. The bright colors will fade, and the flower will feel brittle to the touch.
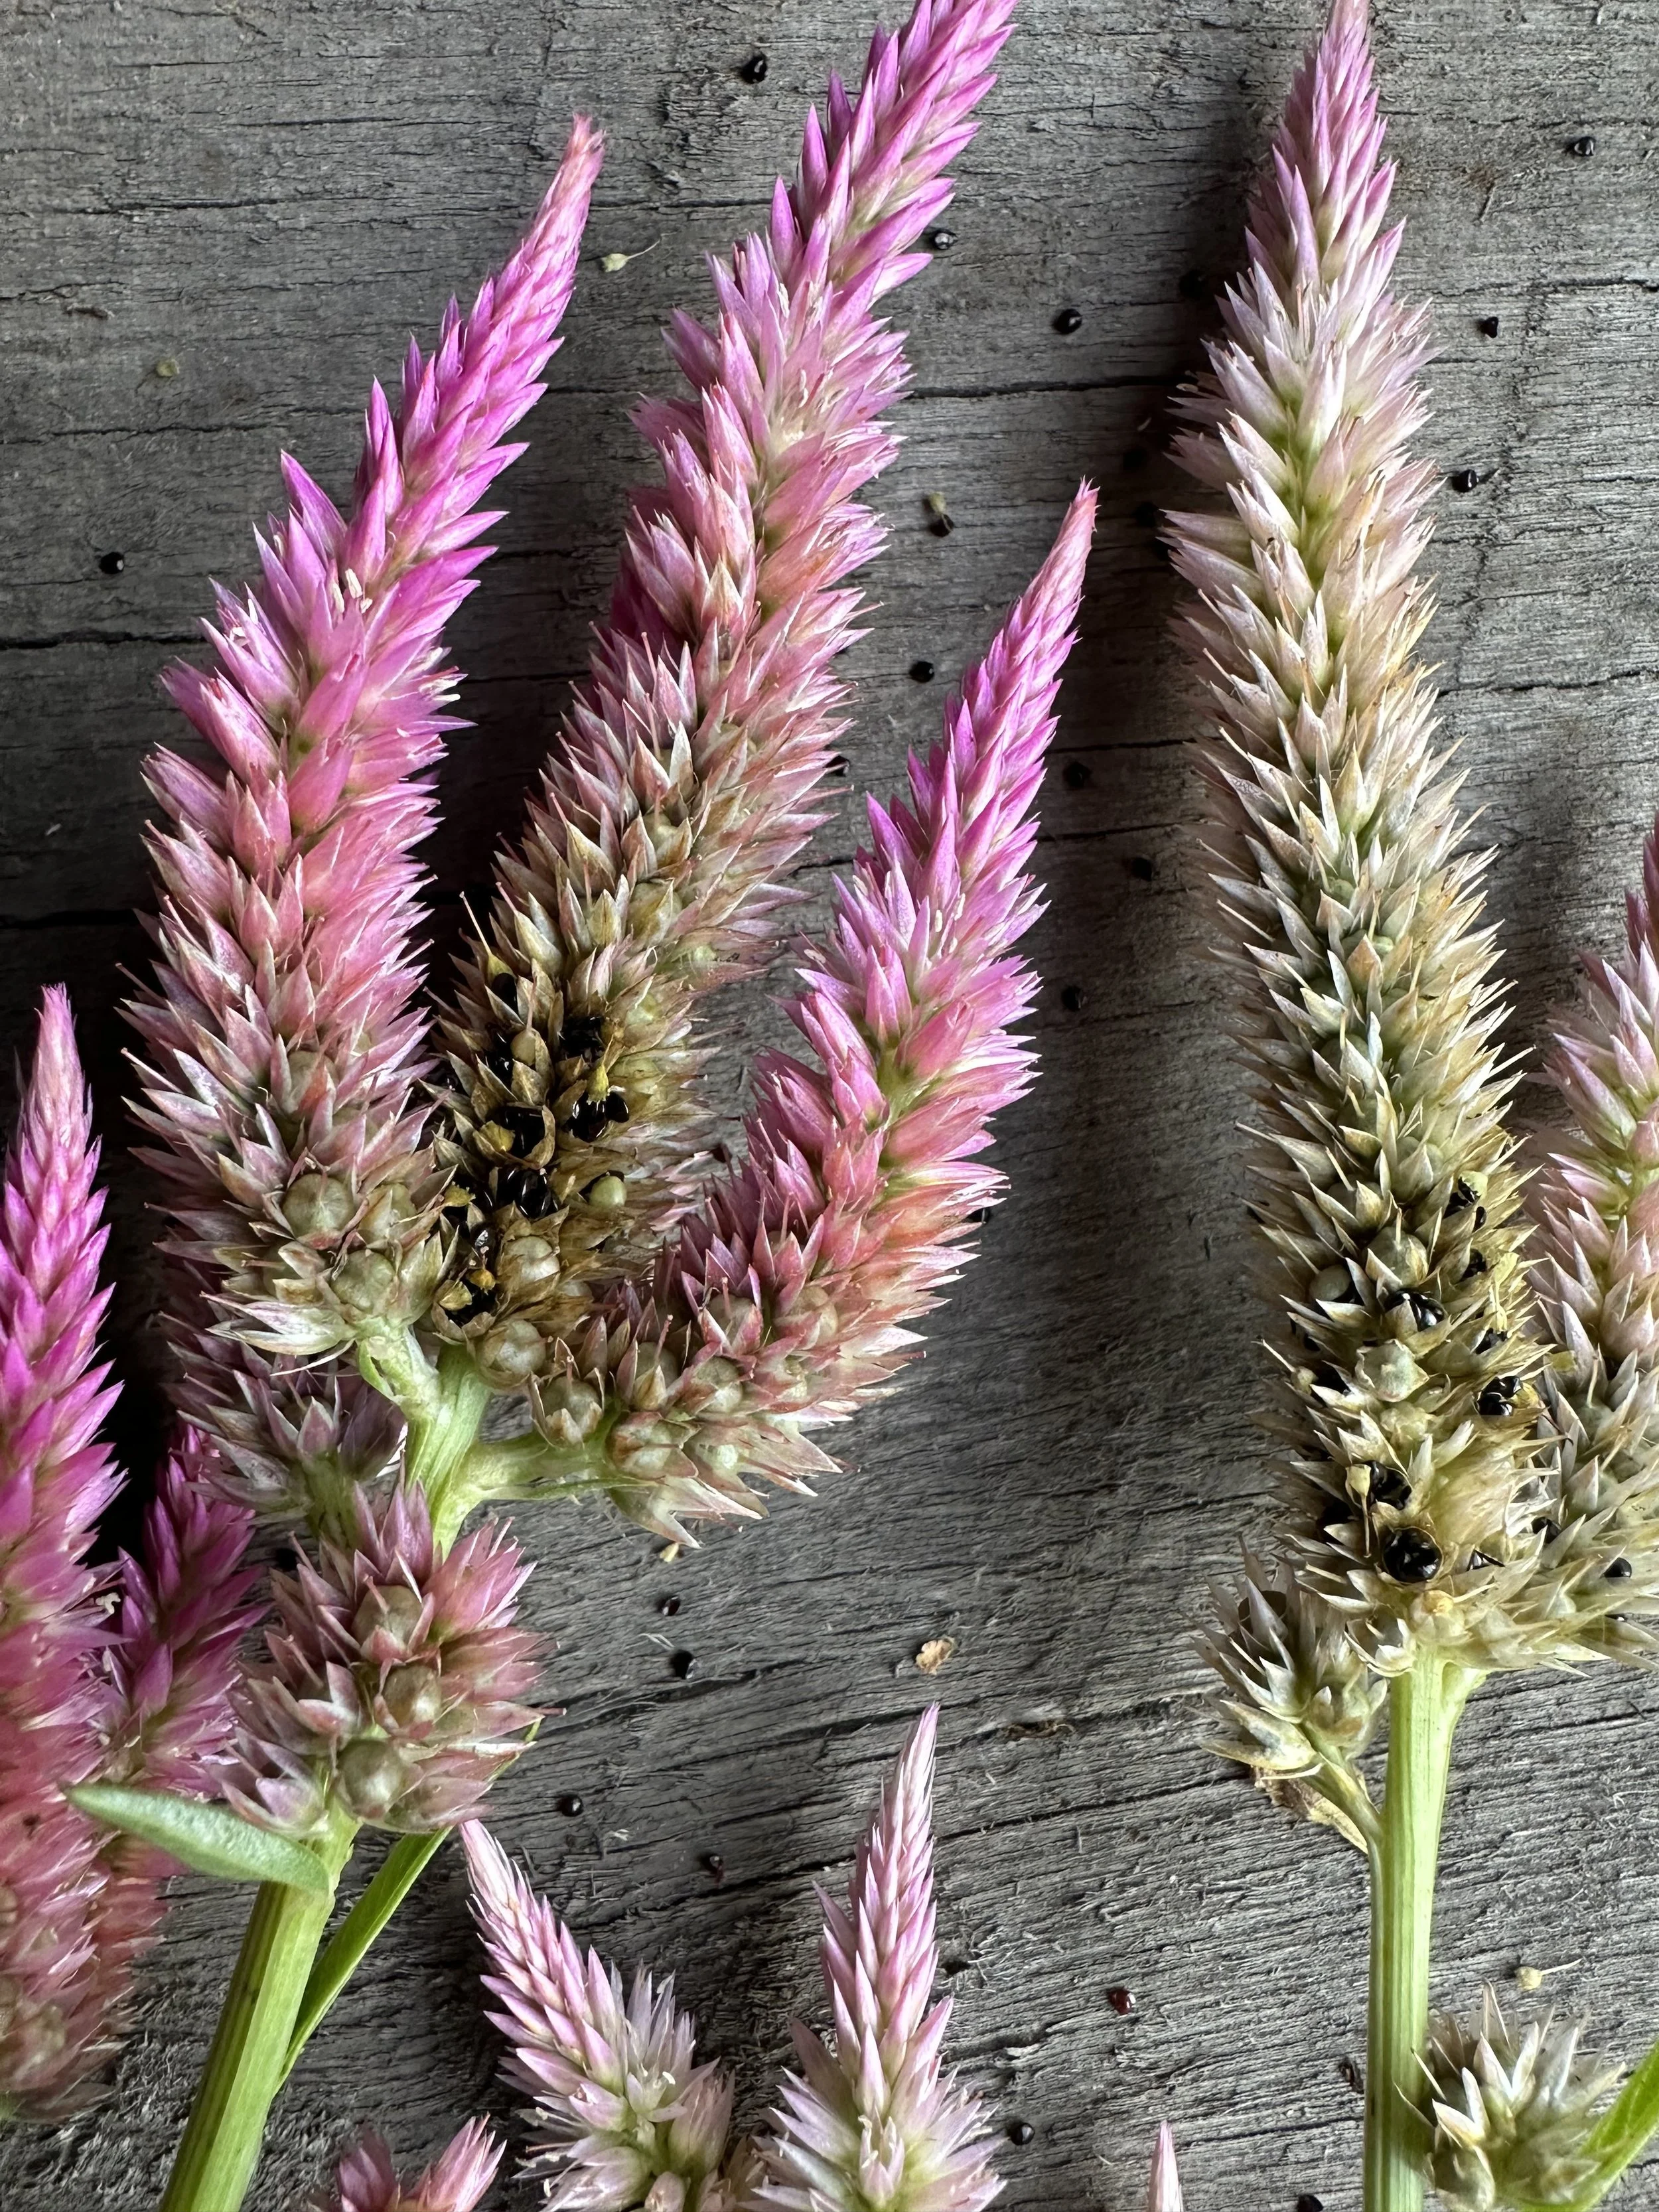
Gently shake the flower head over a paper or container to release the seeds. Celosia seeds are small, round, and black.
If needed, carefully pull apart the flower head to access any seeds that haven't fallen on their own.
Store the seeds in a dry, cool place, and make sure to label your containers.
Collecting Cosmos Seeds
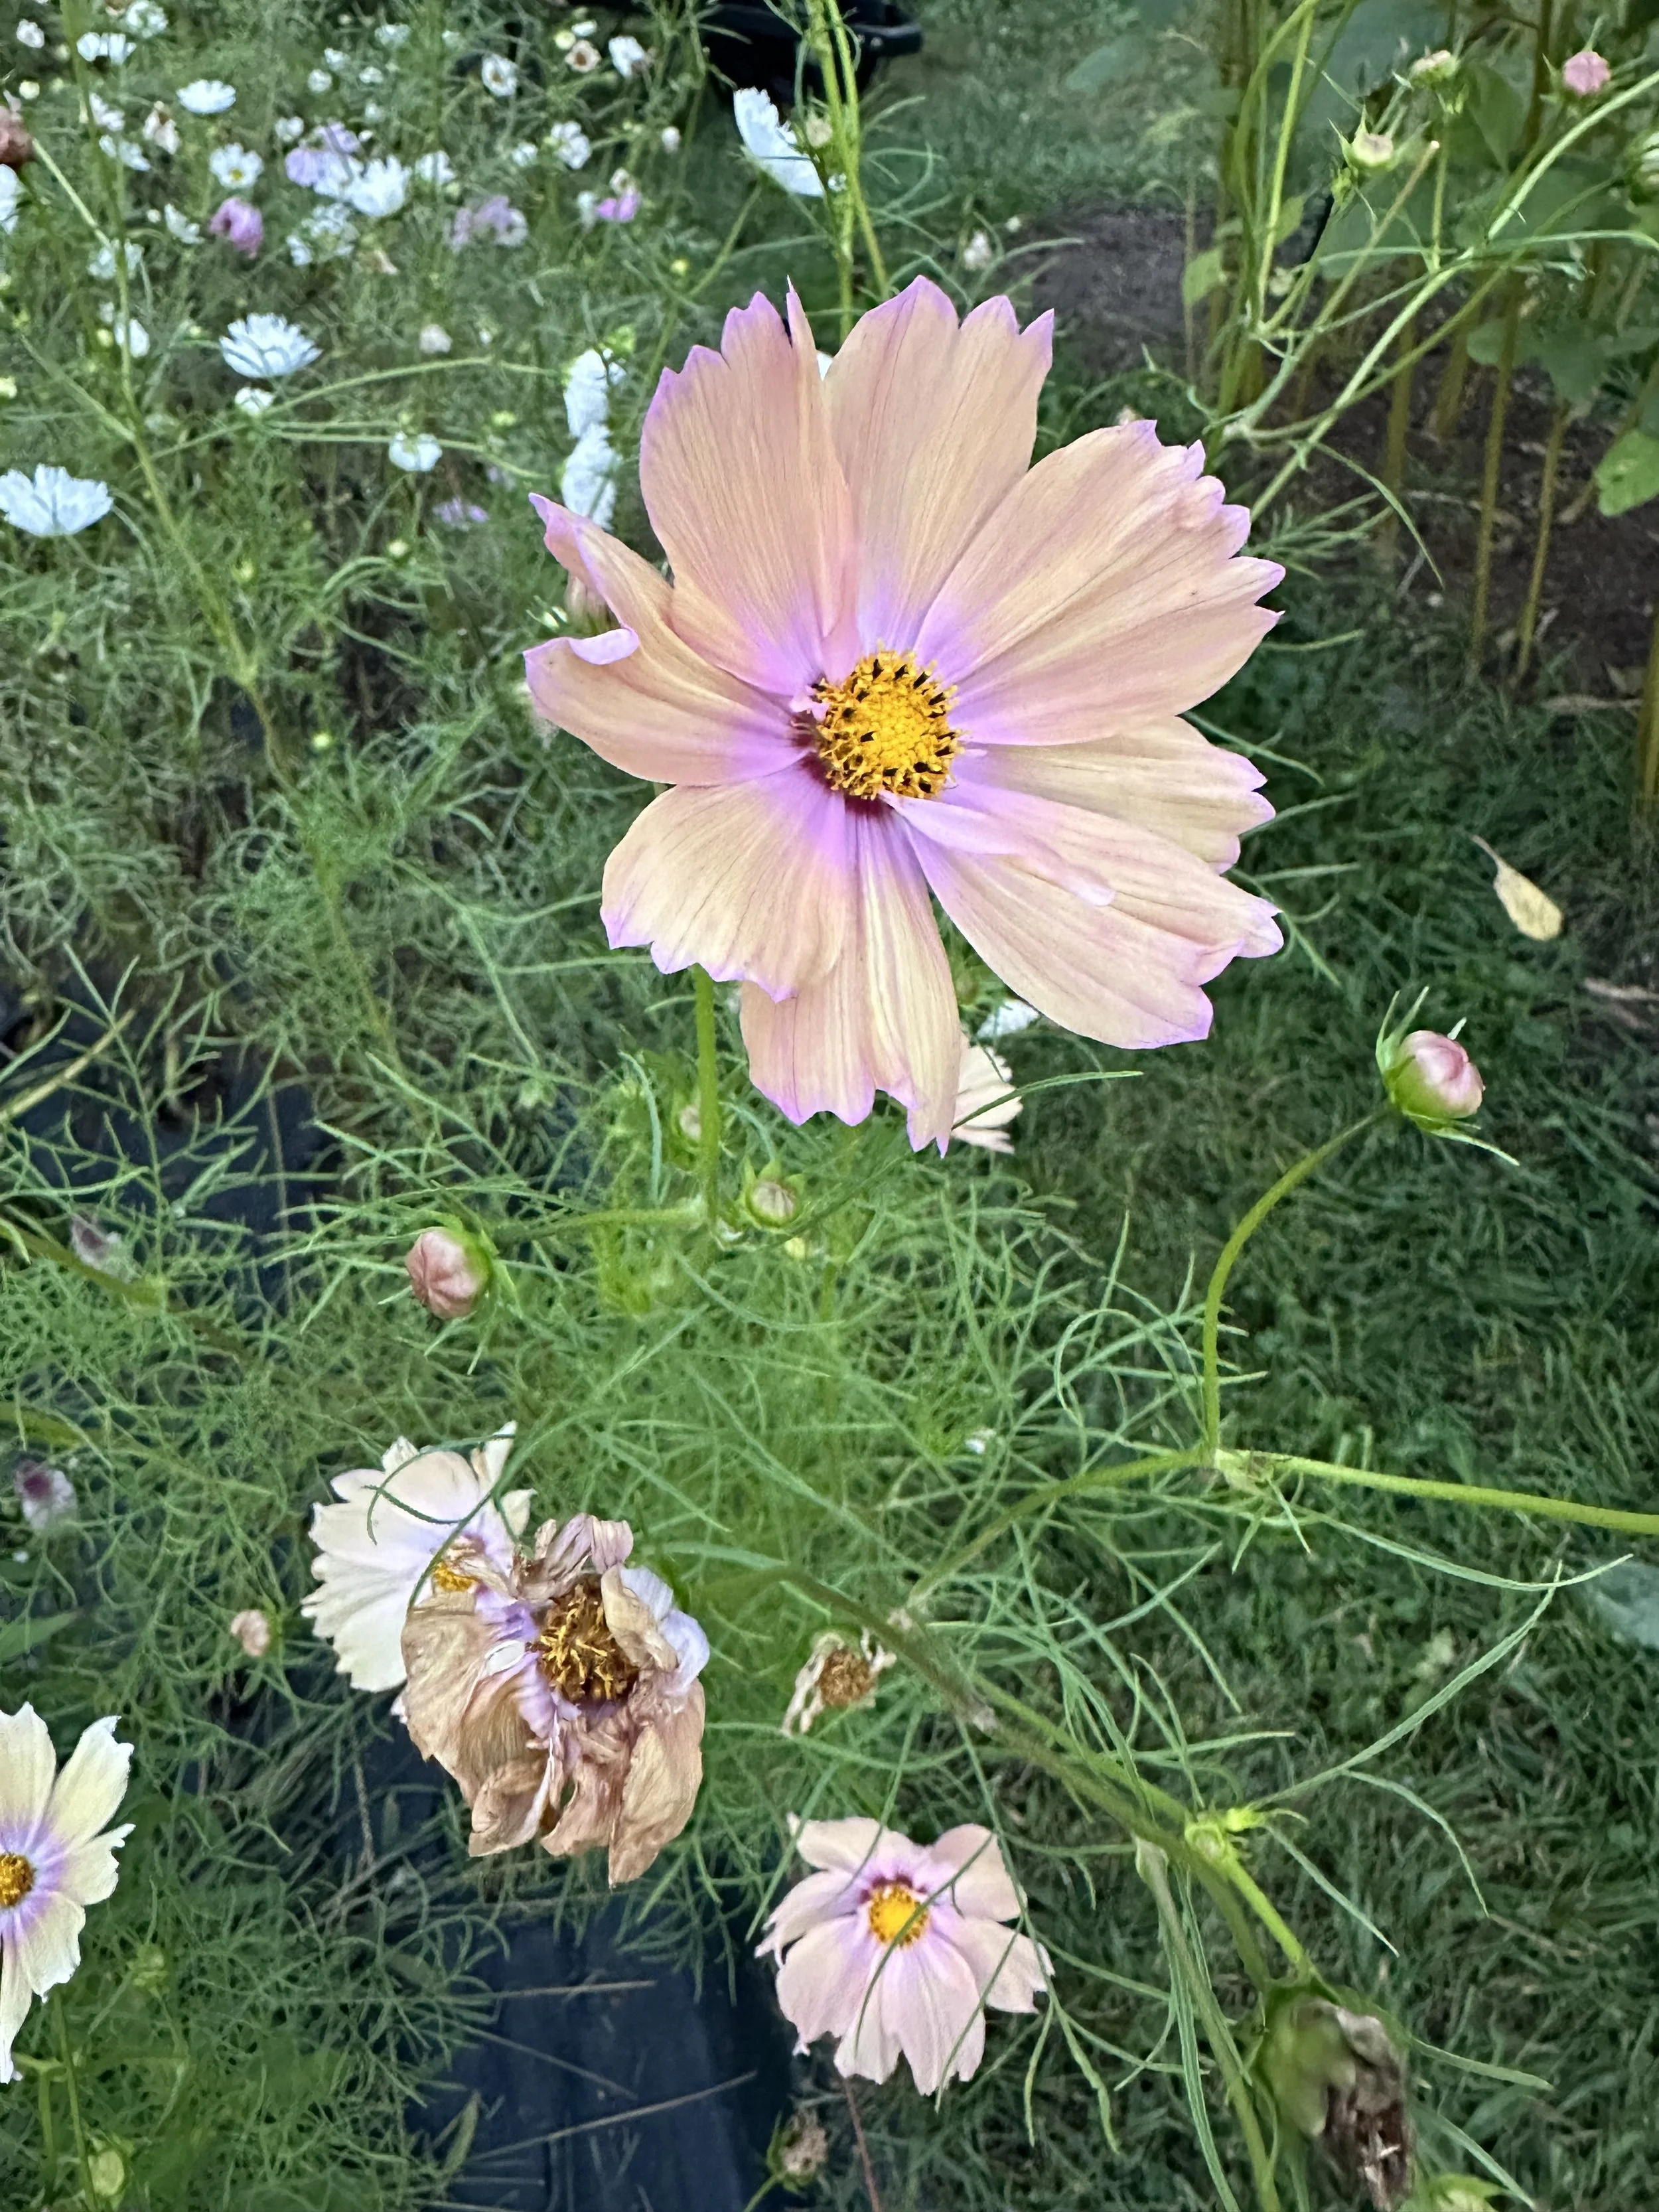
Cosmos flowers are whimsical and easy to grow, and their seeds are just as simple to collect.
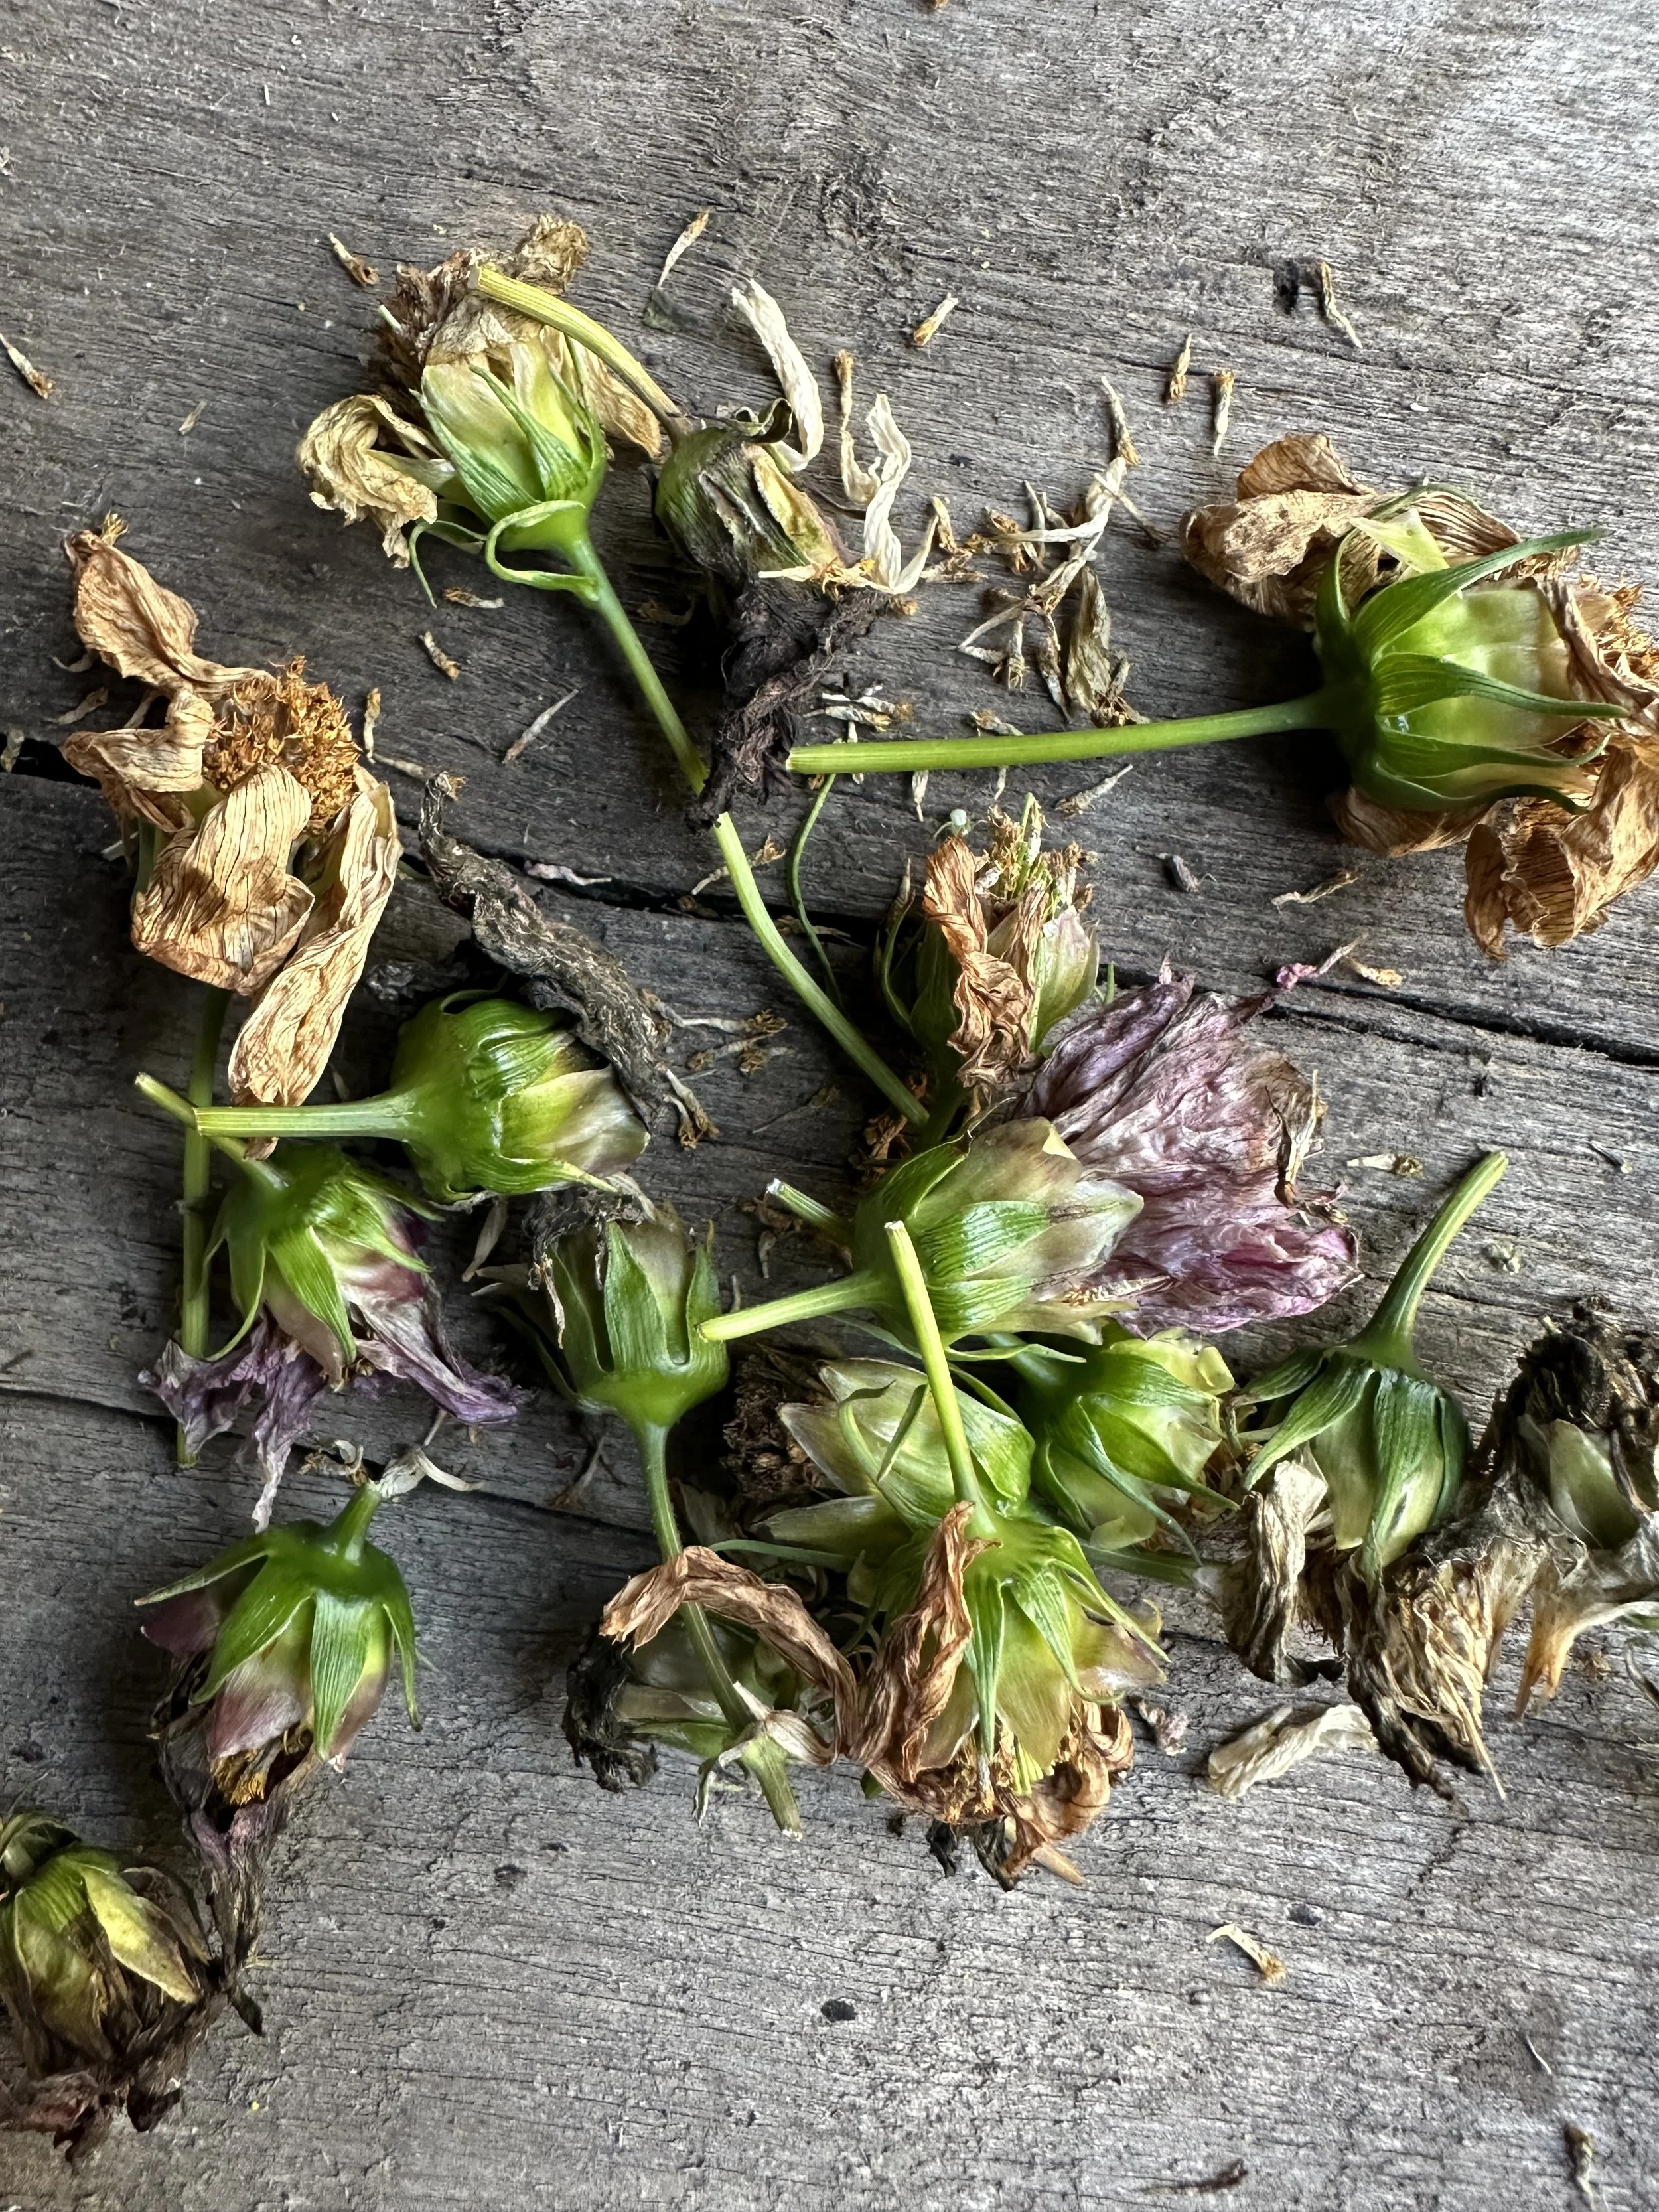
Let the flowers fade and dry. The seed heads will become brown and spiky as they mature.
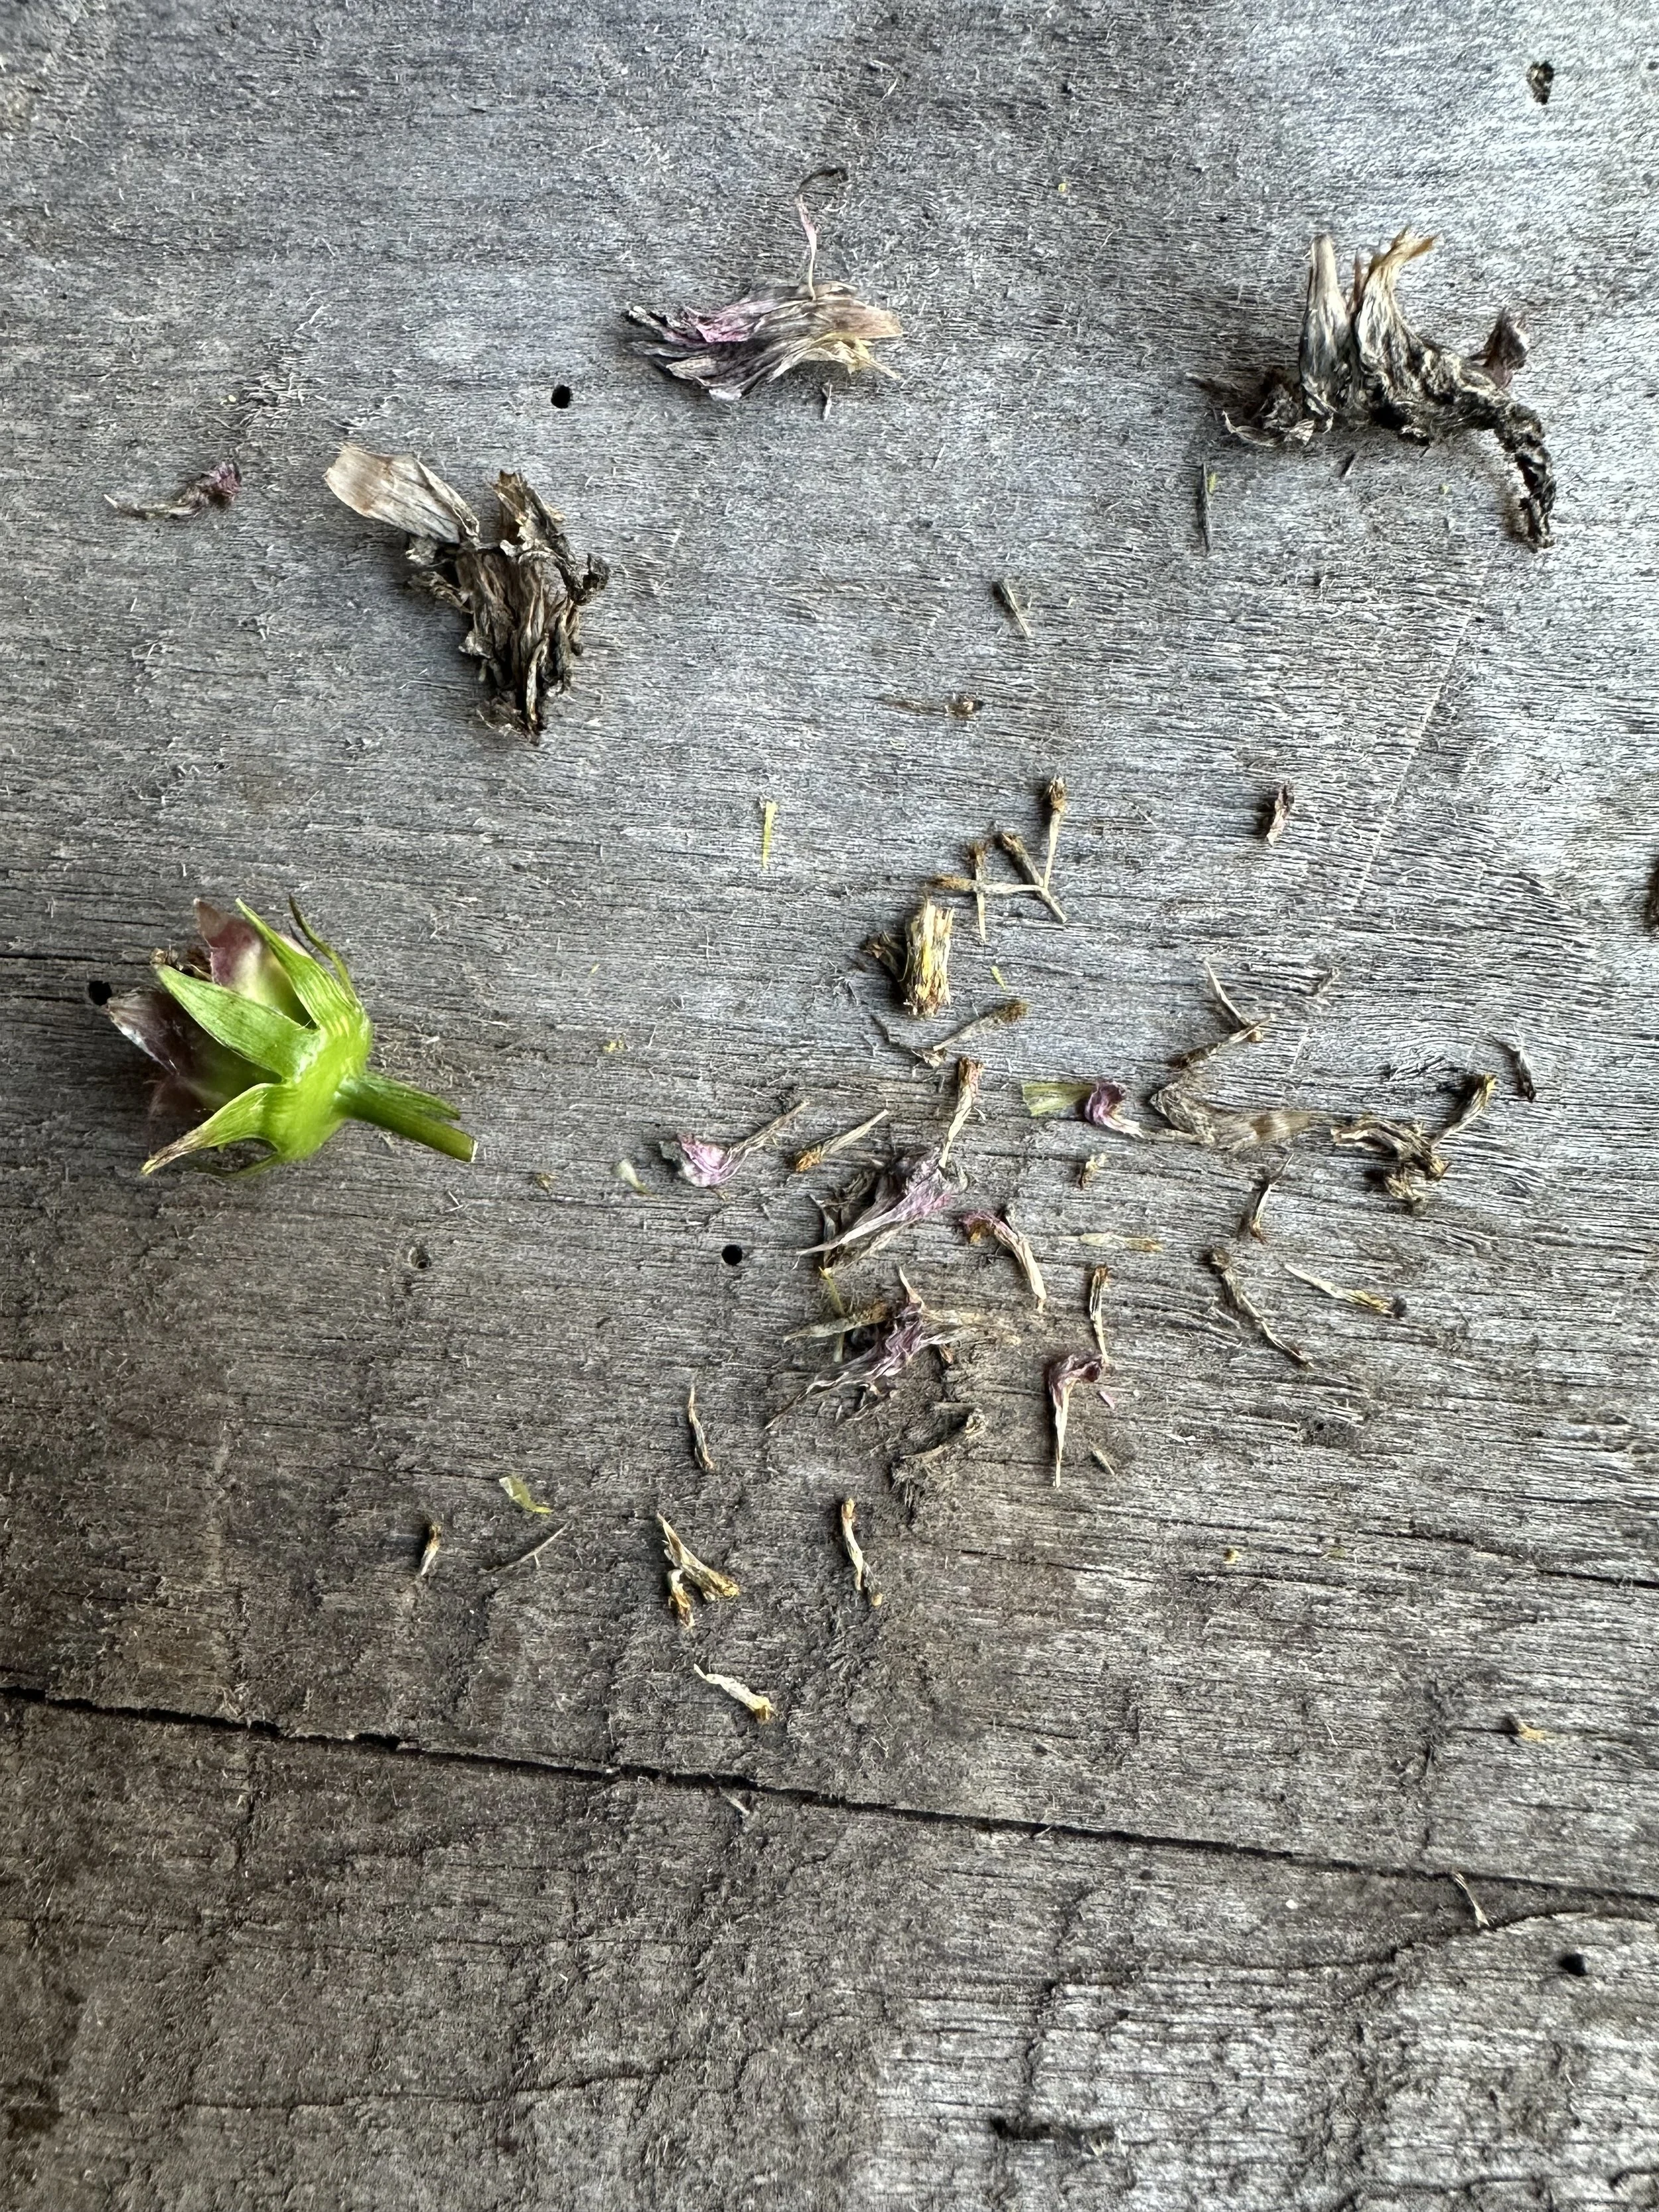
Pluck the dried seed head from the stem and break it apart to reveal long, thin seeds that resemble little needles.
Carefully separate the seeds from the surrounding plant material, and store them in a labeled envelope or jar.
Storing Your Seeds
Once you've gathered seeds, proper storage is key to keeping them viable until next season.
Use paper envelopes or small jars to store the seeds. Make sure the seeds are completely dry before sealing them, as moisture can cause mold. I like to leave the seeds in organza bags or open plastic containers in the garage for a week or so to make sure they’re completely dry before packing away.
Label your containers with the plant variety and the date you collected the seeds. This will help you keep track of which seeds to plant and when.
Store them in a cool, dark place such as a pantry or drawer, where they will be protected from temperature extremes.
Saving seeds from your favorite flowers is not only a practical gardening technique but also encourages a simple and mindful practice to bring you closer to nature’s cycles. As you gather seeds, take a moment to think about all of the beauty, color, texture and abundance the flowers provided this year. By saving seeds, you're setting the stage for a beautiful and bountiful garden next season - one that’s deeply connected to your hands, your care, and the natural cycles that guide us all.
Happy seed-saving, and may your garden bloom with joy and beauty year after year!
photo ©Arlyn Flower Farm, 2024

